CLOCK AND EXTERIOR TEMPERATURE
9°C 12:00 | ||
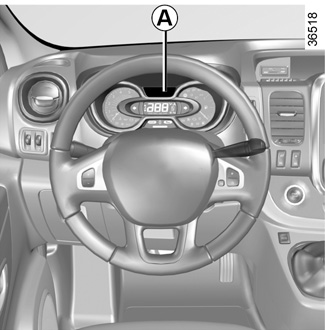
Display A
(depending on the vehicle)
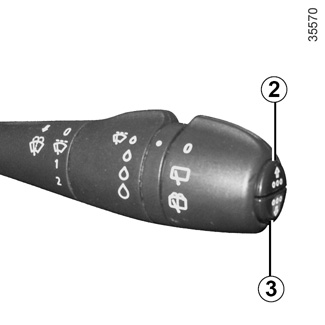
To access display 1 for setting the time, press button 2 or 3. Wait for a few seconds.
The hours and minutes flash and you are now in setting mode; press and hold button 2 or 3 to set the hours.
Once the minutes flash, repeatedly press or press and hold button 2 ou 3 to set the time.
Then press and hold button 2 or 3 to confirm the time set.
The minute display flashes: repeatedly press or press and hold button 2 or 3 to set the time.
When setting is complete, the hours and minutes remain displayed continuously for 2 seconds: your setting is registered.
You may change the display.
If the power supply is cut (battery disconnected, supply wire cut, etc.), the clock must be reset.
We recommend that you do not adjust these settings while driving.
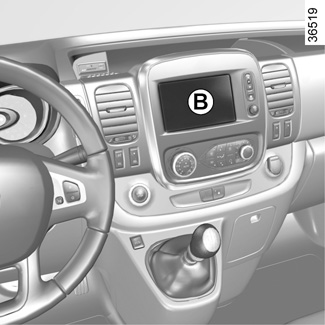
Display B
Vehicles fitted with touch-screen multimedia, navigation aid systems, telephones, etc.
Refer to the separate instructions for the function to understand the special features of this equipment.
External temperature indicator
Special note:
When the exterior temperature is - 3°C to + 3°C, the °C characters flash (signalling a risk of ice on the road).
External temperature indicator
As ice formation is related to climatic exposure, local air humidity and temperature, the external temperature alone is not sufficient to detect ice.
If the power supply is cut (battery disconnected, supply wire cut, etc.), the clock must be reset.
We recommend that you do not adjust these settings while driving.